T5-4.7 E-Paper
Overview
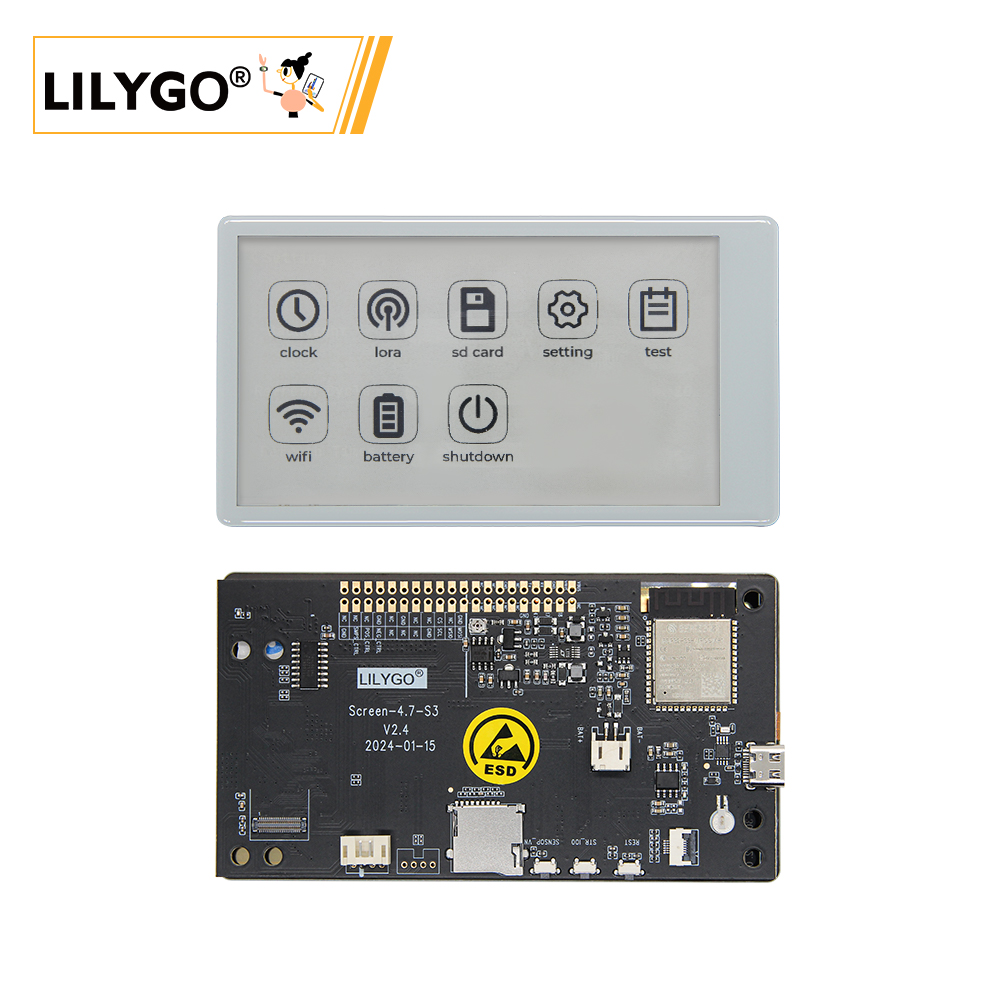
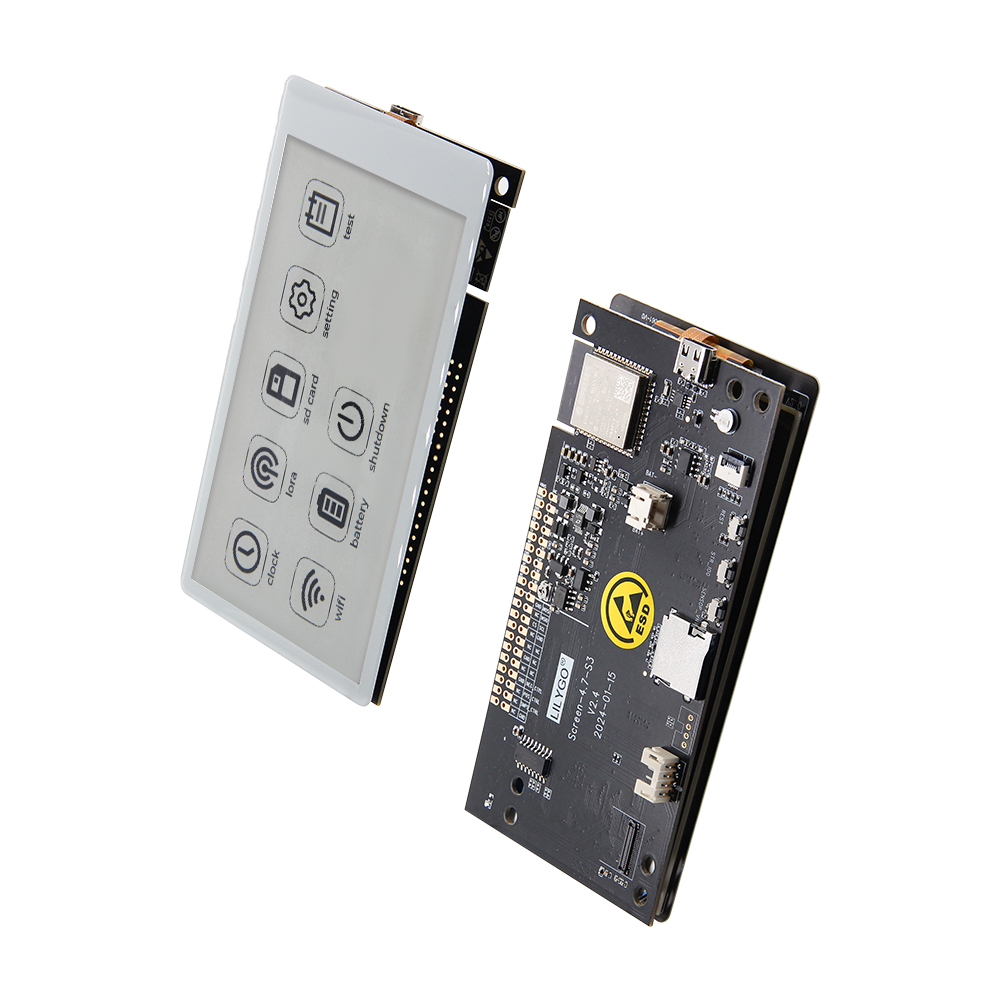
The LILYGO T5-4.7-S3 is a 4.7-inch E-Ink (E-Paper) development board based on the ESP32-S3-WROOM-1-N16R8 (16 MB Flash, 8 MB PSRAM). Integrates capacitive touch (GT911, two-point), PCF8563 RTC, USB-C, Li-Po battery interface (JST-PH 2.0 mm), battery ADC, 40-pin Raspberry Pi-compatible GPIO, onboard TF card slot, and dedicated display drive signals (STV/LE). 2.5D curved design. Ideal for low-power E-Ink applications with touch interaction: electronic labels, smart home displays, portable devices.
Quick Start
Example Support
| Example | PlatformIO/Arduino | ESP-IDF | Description |
|---|---|---|---|
| LilyGo-EPD47 | ✓ | E-Paper display, touch, button, Wi-Fi sync examples |
Available examples
examples/
├── button          # Button example
├── demo            # Comprehensive test + sleep current test
├── drawExample     # Draw lines and circles
├── drawImages      # Show images
├── grayscale_test  # Grayscale test
├── screen_repair   # Full refresh (afterimage removal)
├── spi_driver      # Display as SPI slave
├── touch           # Touch example
└── wifi_sync       # Wi-Fi comprehensive example
PlatformIO
- Install Visual Studio Code and Python
- Search for and install the PlatformIO IDE extension in VS Code
- Open the
LilyGo-EPD47project folder - Open
platformio.ini, uncomment onesrc_dir = xxxxline (only one active at a time) - Click ✓ to compile, connect via USB-C, click → to upload
Arduino
- Install Arduino IDE
- Install Arduino ESP32 v2.0.5 – v2.0.15 (v3.x not supported): Add to Additional Boards Manager URLs:
https://espressif.github.io/arduino-esp32/package_esp32_index.json - In Sketch → Include Library → Manage Libraries, search for
LilyGo EPD47and install with all dependencies - In File → Examples → LilyGo EPD47, open any example
- In Tools → Board, configure:
| Arduino IDE Setting | Value |
|---|---|
| Board | ESP32S3 Dev Module |
| Port | Your port |
| USB CDC On Boot | Enabled |
| CPU Frequency | 240 MHz (WiFi) |
| Core Debug Level | None |
| USB DFU On Boot | Disabled |
| Erase All Flash Before Sketch Upload | Disabled |
| Events Run On | Core1 |
| Flash Mode | QIO 80 MHz |
| Flash Size | 16MB (128Mb) |
| Arduino Runs On | Core1 |
| USB Firmware MSC On Boot | Disabled |
| Partition Scheme | 16M Flash (3MB APP/9.9MB FATFS) |
| PSRAM | OPI PSRAM |
| Upload Mode | UART0/Hardware CDC |
| Upload Speed | 921600 |
| USB Mode | CDC and JTAG |
- Select the correct port and click Upload
If upload fails: hold BOOT (IO0), press RST, release RST, release BOOT, then click Upload.
Development Platforms
Video
Key Features
- ESP32-S3-WROOM-1-N16R8: 16 MB Flash, 8 MB PSRAM, Wi-Fi + Bluetooth 5.0
- 4.7-inch EDO47TC1 E-Ink display (540 × 960)
- GT911 capacitive touch (two-point), I²C
- PCF8563 Real-time Clock (I²C)
- 40-pin Raspberry Pi-compatible GPIO expansion
- TF card slot, USB-C, JST-PH 2.0 mm Li-Po
- 2.5D curved design
Product Parameters
| Feature | Specification |
|---|---|
| MCU | ESP32-S3-WROOM-1-N16R8 |
| Flash | 16 MB |
| PSRAM | 8 MB |
| Wi-Fi | 2.4 GHz 802.11 b/g/n |
| Bluetooth | Bluetooth 5.0 LE |
| Display | EDO47TC1 4.7-inch E-Ink, 540 × 960 |
| Touch | GT911 capacitive, two-point, I²C |
| RTC | PCF8563 (I²C) |
| Storage | TF card slot |
| USB | 1 × Type-C (USB + OTG) |
| Battery | JST-PH 2.0 mm Li-Po |
| I/O Expansion | 2 × 20-pin (Raspberry Pi 40-pin compatible) |
| Buttons | RST + SIR_io0 + io21 |
| Mounting Holes | 6 × 3.8 mm |
| Dimensions | 121 × 67 × 12 mm |
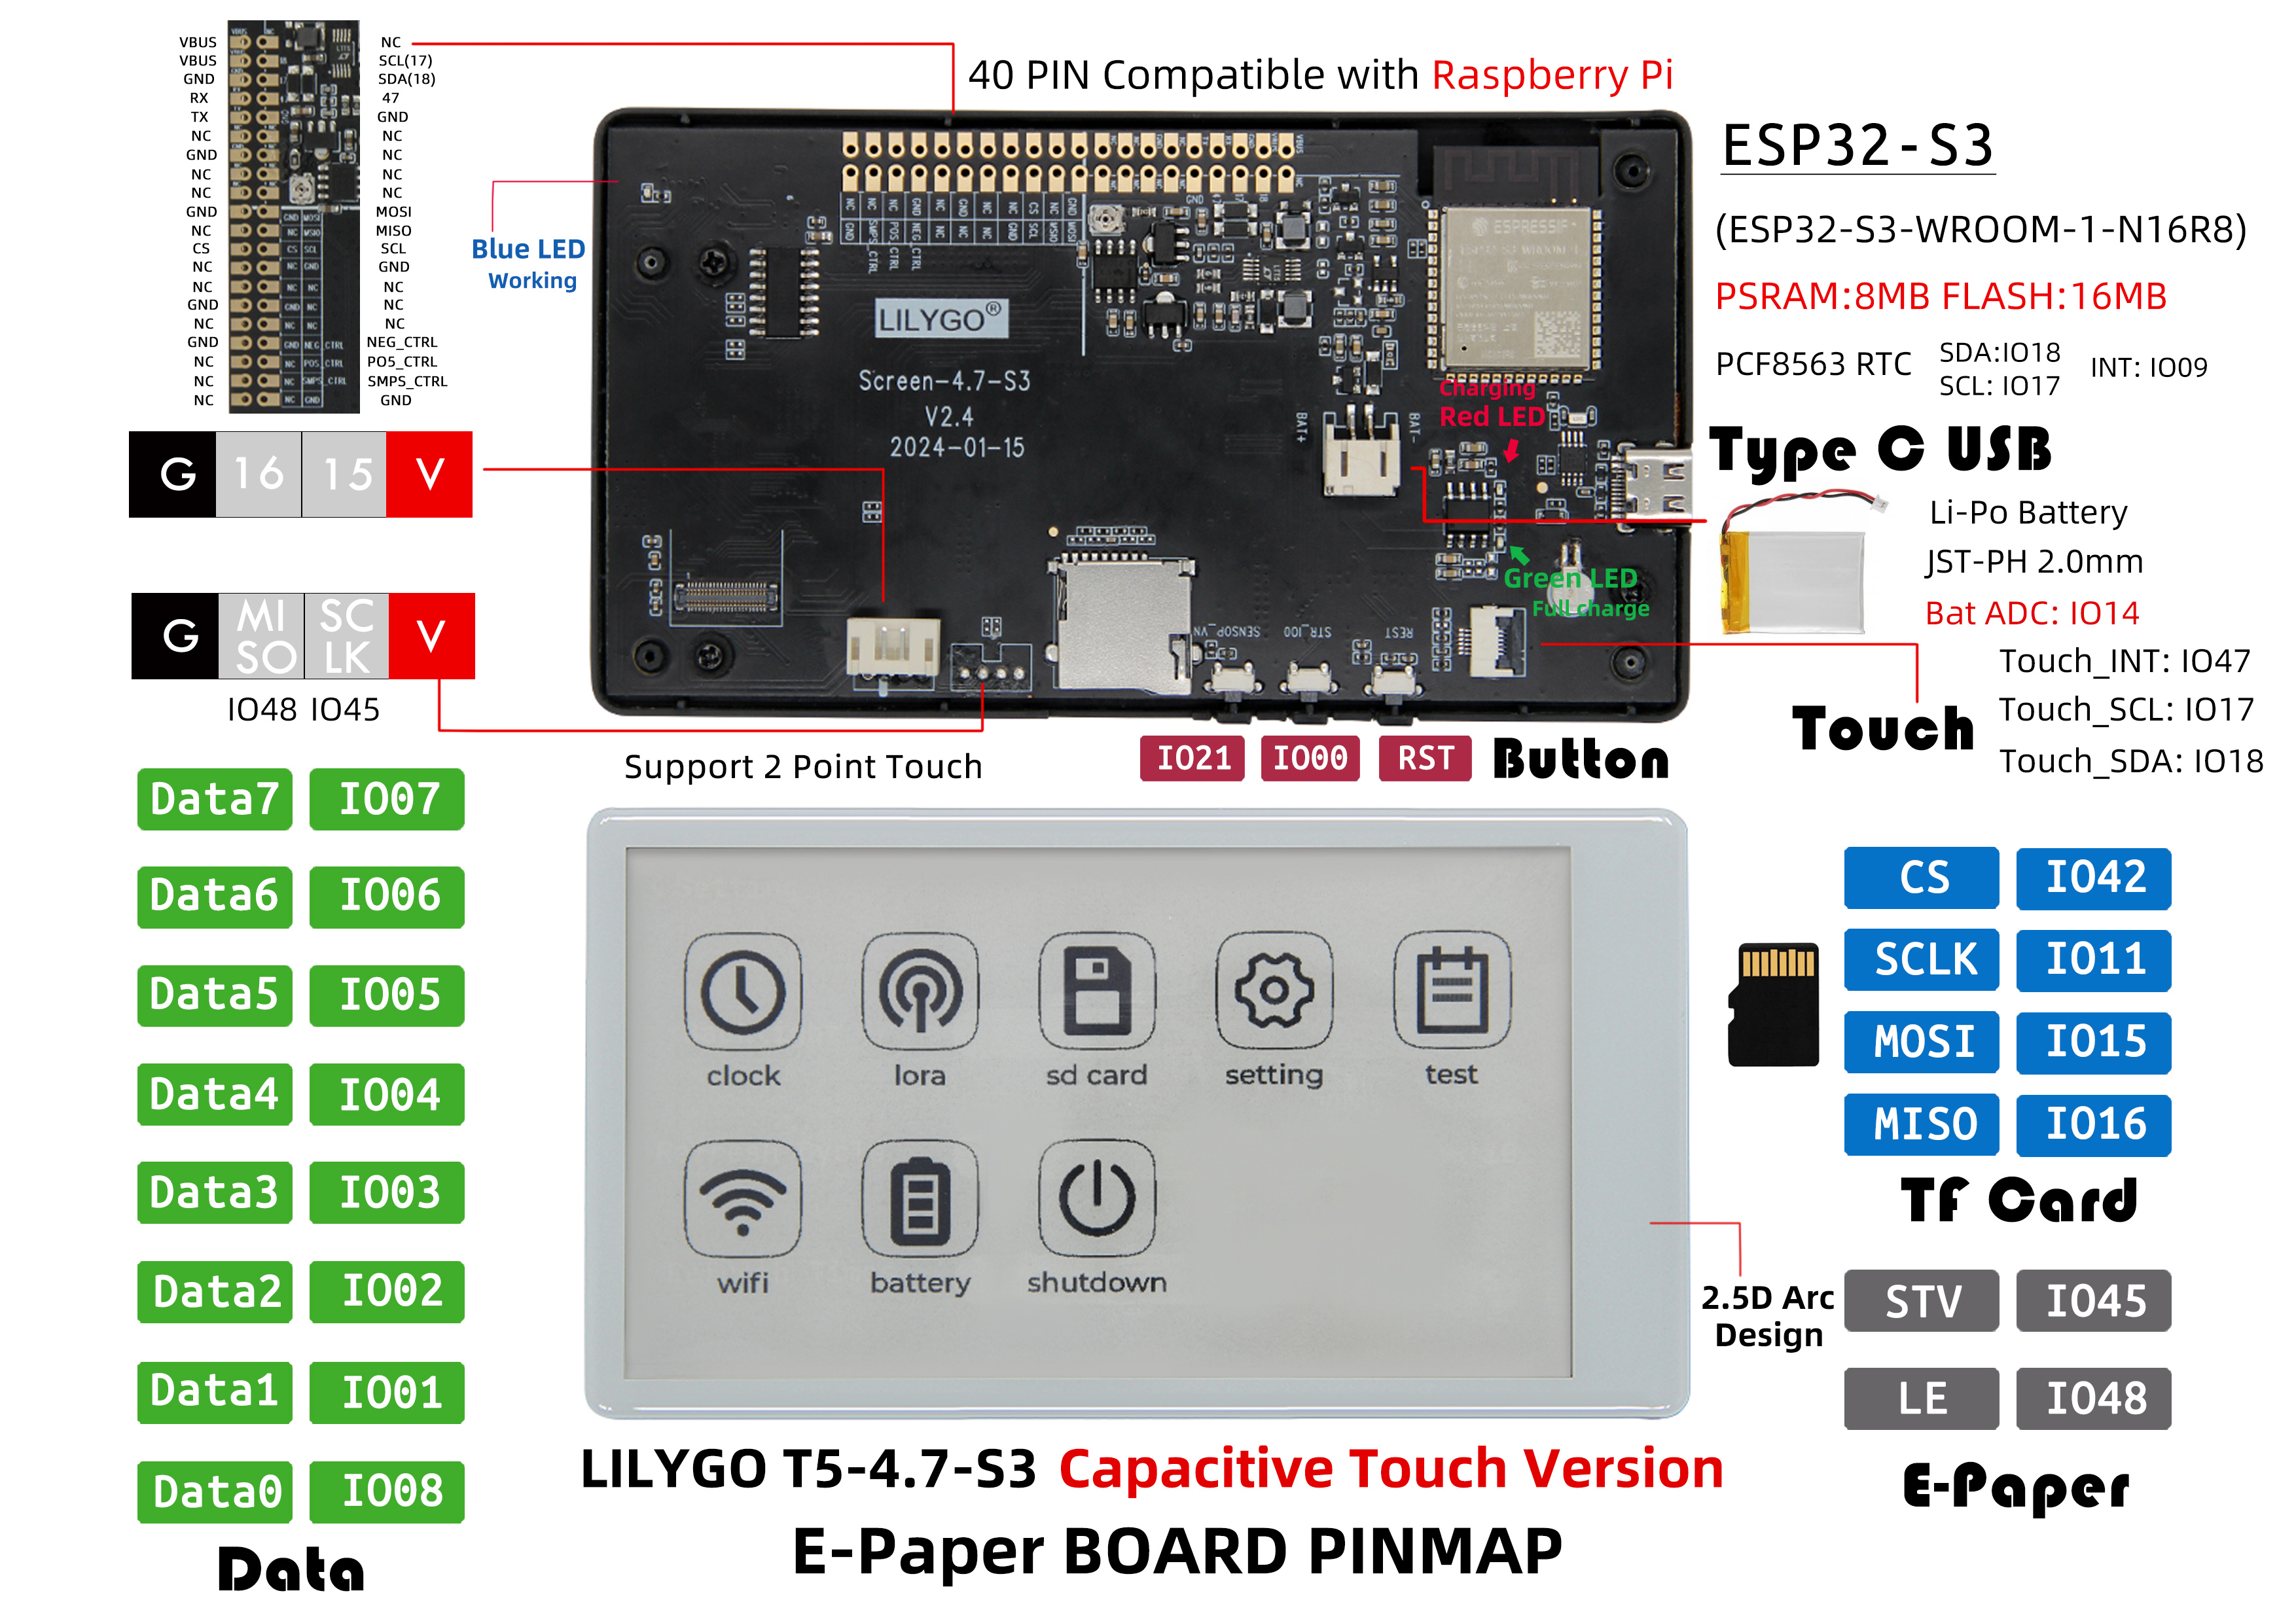
Pin Diagram
Pin Mapping
| GPIO | Connected To | Available |
|---|---|---|
| 13 | 74HCT4094D CFG_DATA | ❌ |
| 12 | 74HCT4094D CFG_CLK | ❌ |
| 0 | 74HCT4094D CFG_STR | ❌ |
| 38 | E-paper CKV | ❌ |
| 40 | E-paper STH | ❌ |
| 41 | E-paper CKH | ❌ |
| 8–7 | E-paper D0–D7 | ❌ |
| 21 | Button | ❌ |
| 14 | Battery ADC | ❌ |
| 16/15/11/42 | SD MISO/MOSI/SCK/CS | ❌* |
| 18 | SDA | ❌ |
| 17 | SCL | ❌ |
| 47 | Touch IRQ | ❌ |
| 45/10/48/39 | — | ✅ |
*SD pins (16, 15, 11, 42) are free if SD card is not used. GPIO10 can be connected to GPIO47 to enable touch wake-up (see issue #93).
Dimension Diagram
Schematic
Datasheet
Software Development
Dependent Libraries
FAQ
Q. Which example is used for sleep current testing? A. The demo example.
Q. How to fix afterimages? A. Upload examples/screen_repair. Note: it cannot guarantee 100% removal.
Q. Upload fails or USB port not found? A. Enable
USB_CDC_ON_BOOT. To enter download mode manually: hold BOOT(IO0) → press RST → release RST → release BOOT → click Upload.Q. Arduino IDE prompts to upgrade libraries? A. Do not upgrade — stay with the library versions tested with this project.
Version History
| Version | Release Date | Update Description |
|---|---|---|
| T5-ePaper-S3-V2.4 | — | Current version |