
T-Spe get it now
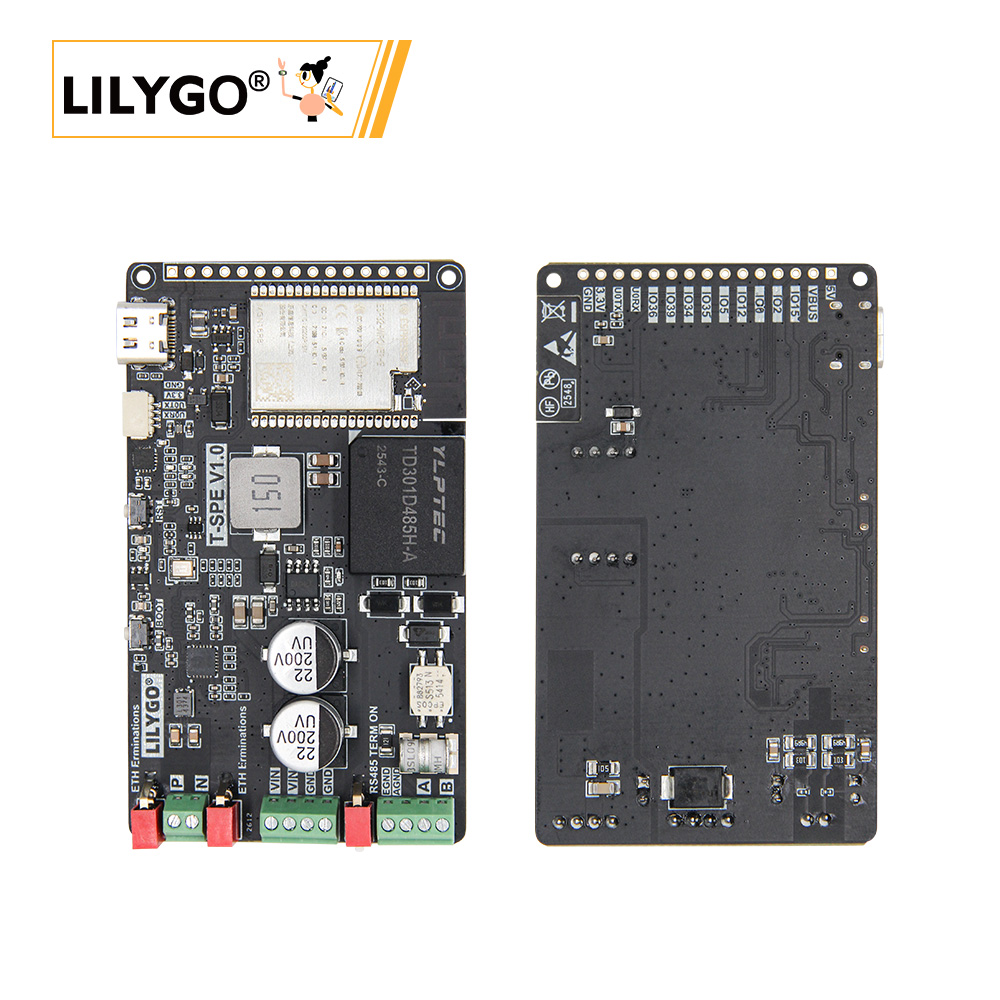
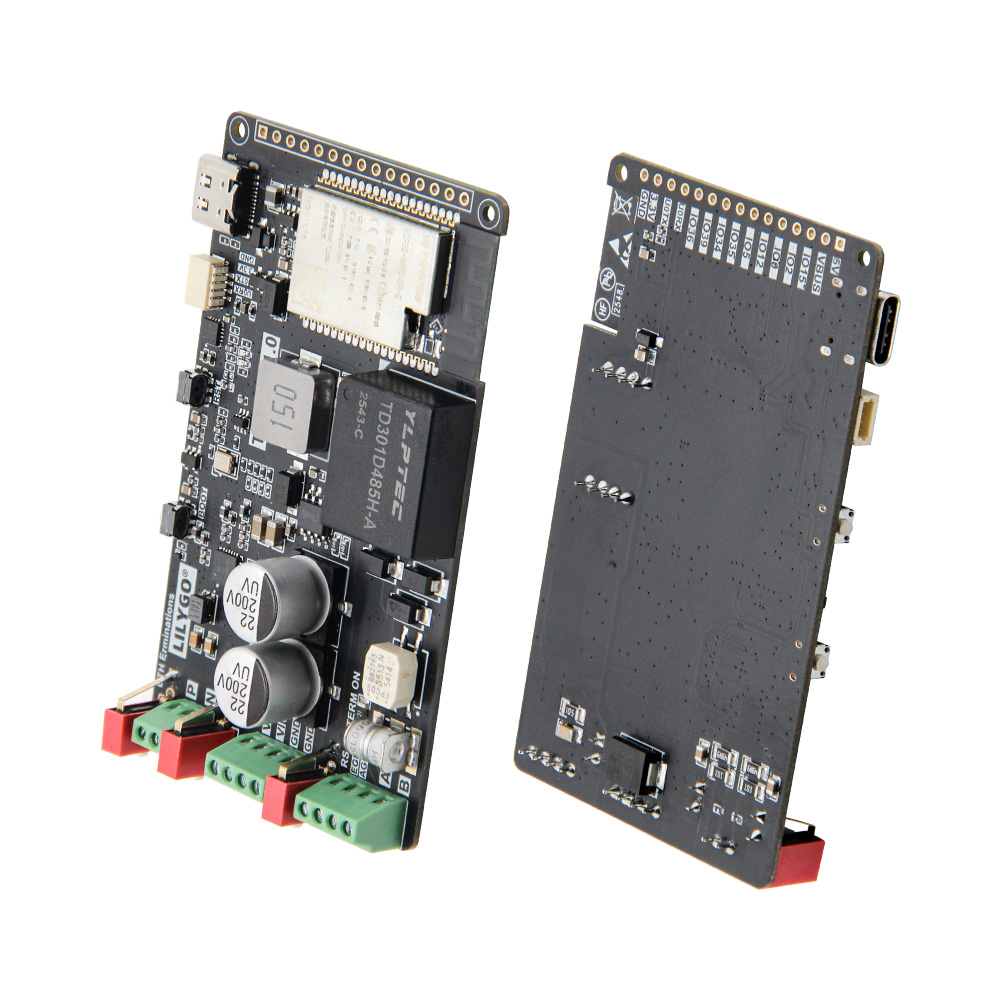
Overview
T-Spe is a compact controller board designed for industrial multi-network communication. It is powered by Espressif ESP32-WROVER-E and features an onboard Microchip LAN8671 10BASE-T1S Ethernet PHY and an RS485 transceiver, combining emerging single-pair Ethernet technology with classic industrial buses. With an ultra-wide 5–75V input voltage range and seamless power switching circuitry, T-Spe can be reliably deployed in harsh environments such as factory automation, automotive systems, and smart grids, serving as an edge computing node or protocol conversion gateway.
Usage Notes:
- If firmware burning fails, press and hold the
BOOTbutton and try downloading again.- Input voltage range is 5–75V; do not exceed this range to avoid damage.
Quick Start
Example Support
| Example | ESP-IDF v5.5.3 | Description |
|---|---|---|
| general_test | ✅ | Factory example |
| iperf_ethernet | ✅ | Ethernet performance test |
| rs485 | ✅ | RS485 communication example |
| wifi | ✅ | Wi-Fi example |
| wifi_http_download_file | ✅ | HTTP file download |
ESP-IDF (Visual Studio Code)
- Install Visual Studio Code
- Search and install the ESP-IDF extension in VS Code
- Clone the repository (including submodules):
git clone --recursive https://github.com/Xinyuan-LilyGO/T-Spe.gitIf you cloned without submodules, run:
git submodule update --init --recursive- Download and install ESP-IDF v5.5.3, note the installation path.
- Open the ESP-IDF extension's "Configure ESP-IDF Extension", select USE EXISTING SETUP → Search ESP-IDF in system, set:
- ESP-IDF directory (IDF_PATH):
your_installation_path\Espressif\frameworks\esp-idf-v5.5.3 - ESP-IDF Tools directory (IDF_TOOLS_PATH):
your_installation_path\EspressifClick install to complete the framework installation.
- ESP-IDF directory (IDF_PATH):
- Click SDK Configuration Editor at the bottom of VS Code, search for
Select the example to build, choose the example you want to compile, and save. - Click Set Espressif device target at the bottom, select ESP32.
- Click Build Project, wait for completion, then click Select Flash Port, and finally click Flash Project.
Firmware Burning (using the flash tool)
- Open the ESP32 flash tool in the project's
toolsdirectory. - Select the correct chip and flashing method, click OK.
- Follow the steps: select the firmware file (in the
firmware/directory), set the address, select the port, and click burn. - If burning fails, press and hold the BOOT button and try again.
Related Videos
No video tutorials yet, contributions are welcome.
Key Features
- MCU: ESP32-WROVER-E dual-core LX6 @ 240 MHz
- Industrial Ethernet: Microchip LAN8671 10BASE-T1S PHY (RMII)
- Industrial bus: RS485 transceiver (TD301D485H-A), UART interface
- Ultra-wide voltage input: 5–75 V DC, integrated SY8513 buck converter
- Seamless power switching circuit for harsh industrial environments
- 16 MB Flash + 8 MB PSRAM
- Supports Wi-Fi + Bluetooth dual-mode wireless communication
- Suitable for edge computing and protocol conversion in factory automation, automotive systems, smart grids, etc.
Product Parameters
| Feature | Specification |
|---|---|
| MCU | ESP32-WROVER-E (dual-core LX6, 240 MHz) |
| Flash | 16 MB |
| PSRAM | 8 MB |
| Ethernet PHY | Microchip LAN8671 (10BASE-T1S, RMII) |
| RS485 Module | TD301D485H-A (UART interface) |
| Input Voltage | 5 – 75 V DC |
| Buck Converter | SY8513 |
| Wireless | Wi-Fi 802.11 b/g/n + Bluetooth 4.2 BR/EDR/BLE |
| Dimensions | TBD |
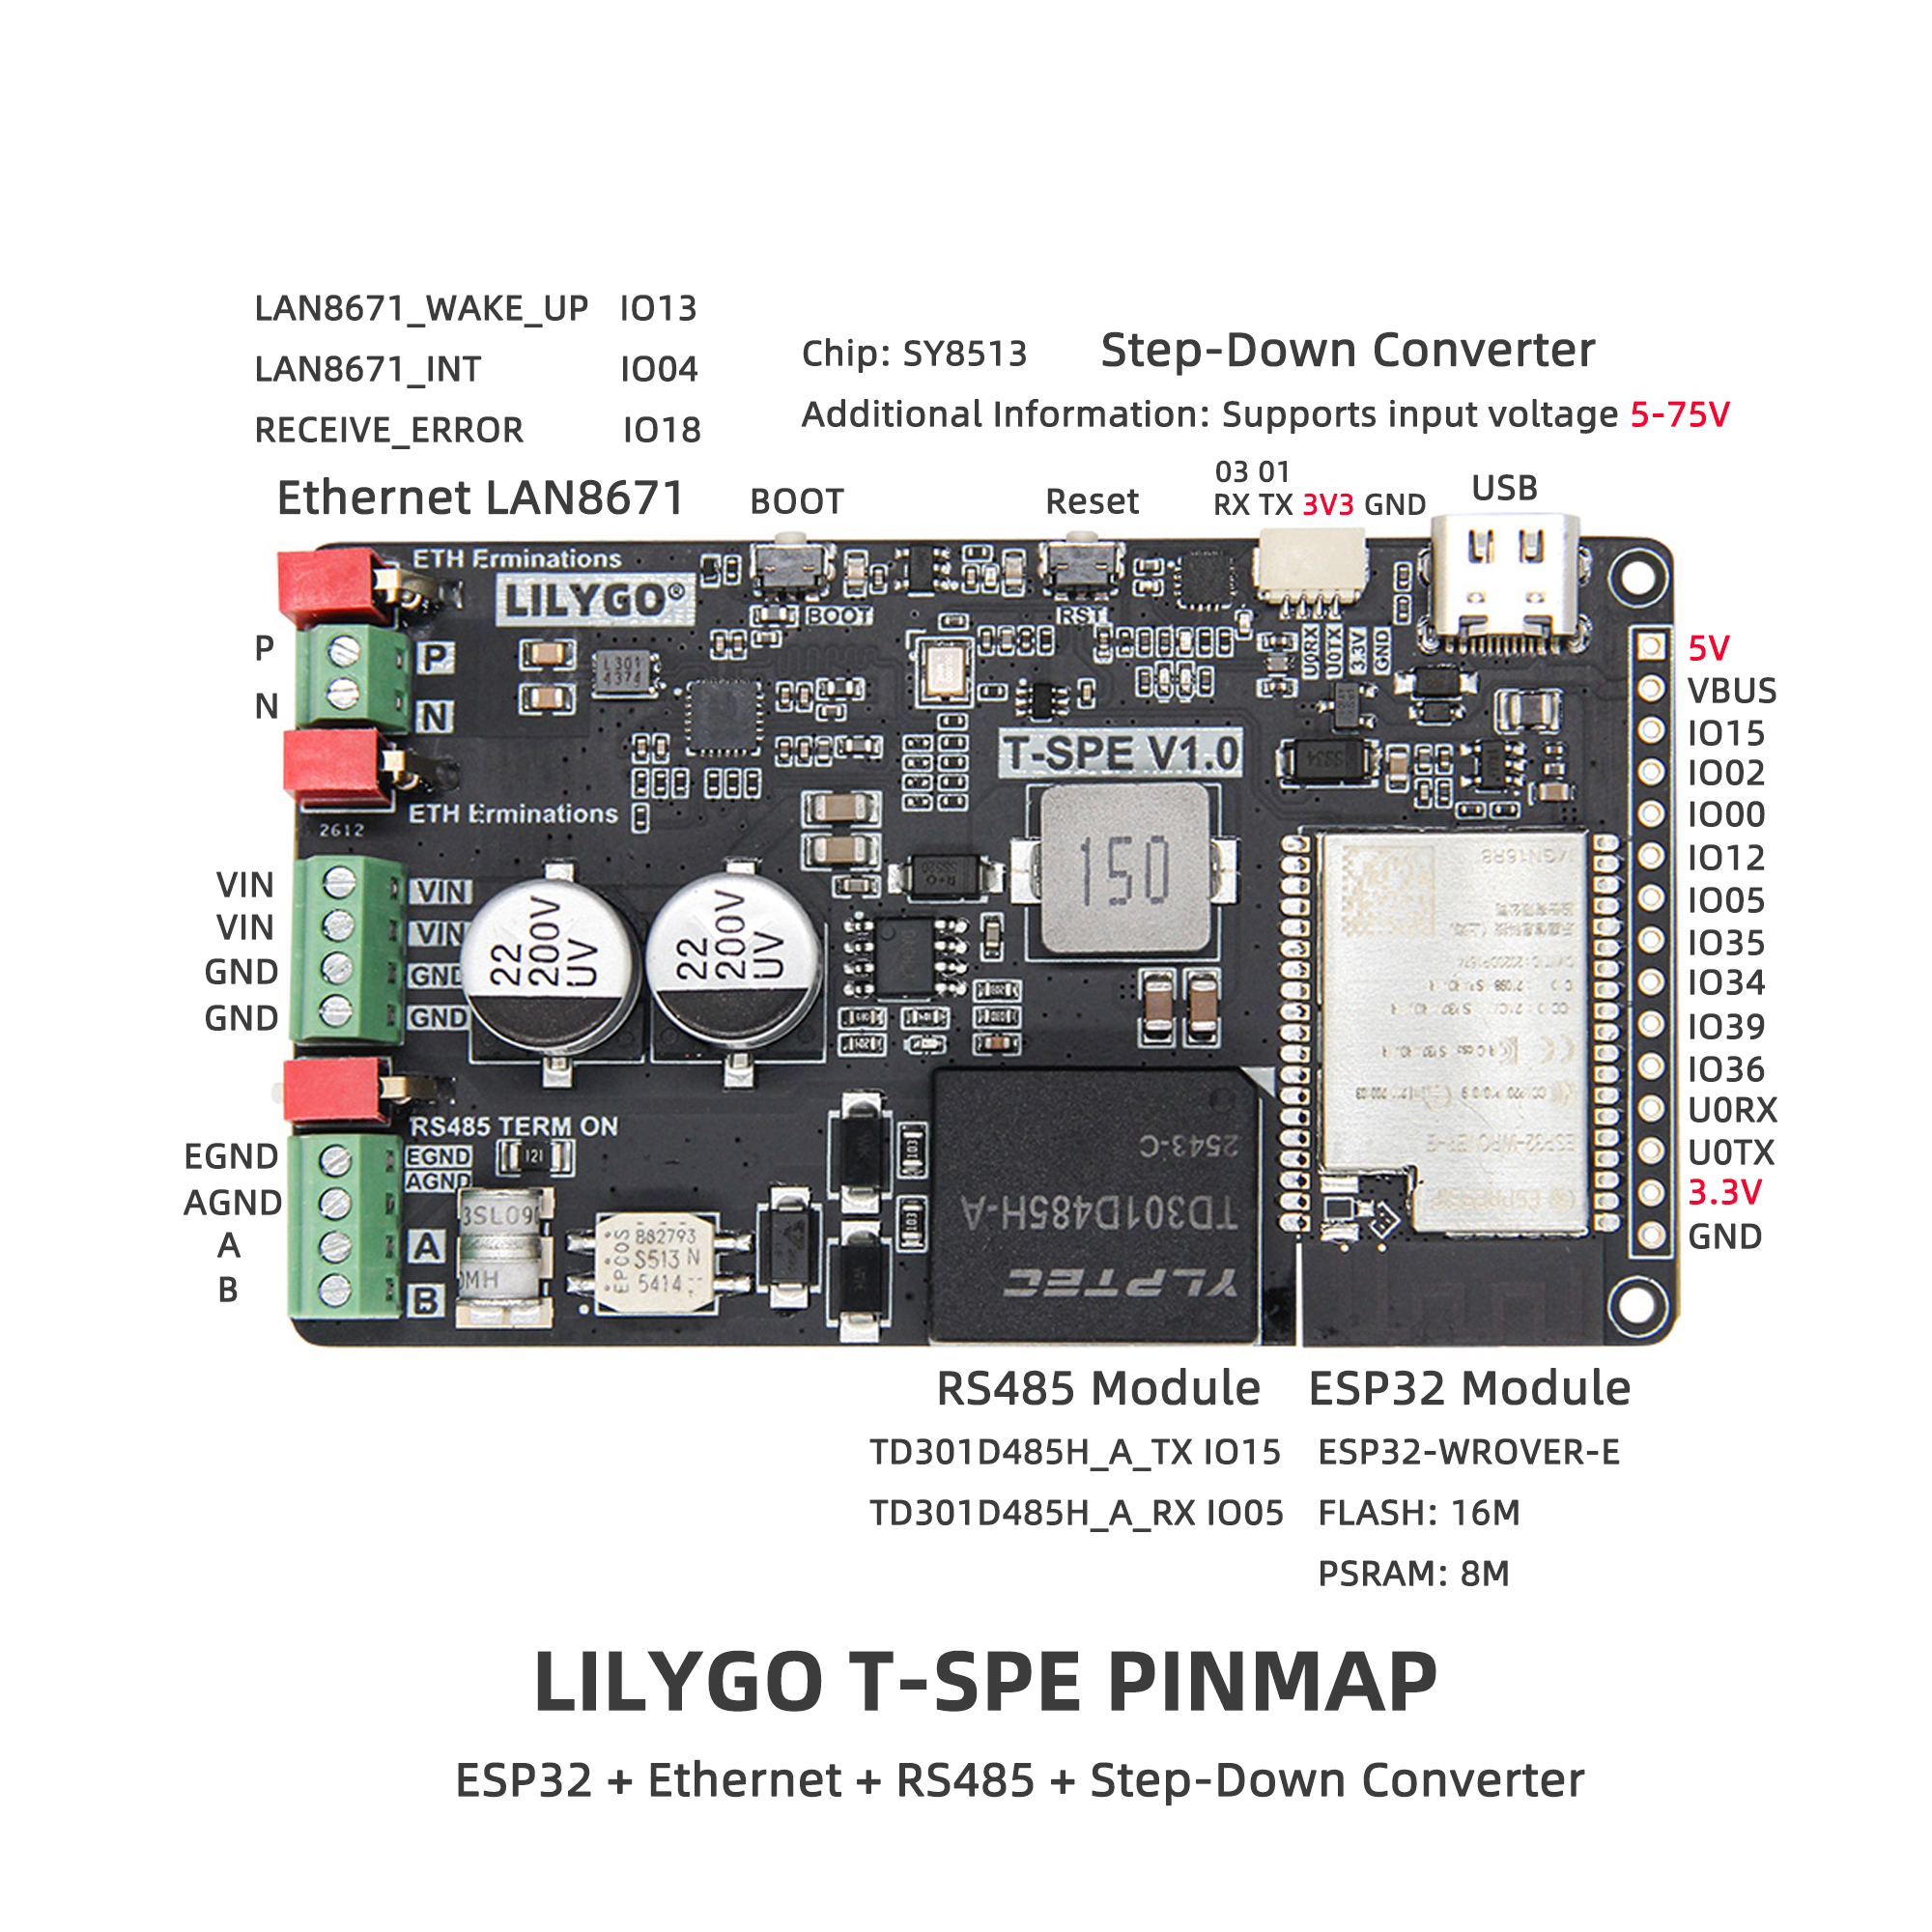
Pinout Diagram
Pin definitions refer to the configuration file:
t_spe_config.h
See the header file above for specific GPIO mapping and peripheral connections.
Main Interface Description
| Interface | Description |
|---|---|
| Ethernet | LAN8671 connects to ESP32 via RMII |
| RS485 | Connects to ESP32 via UART |
| Power Input | 5–75V wide input, stepped down by SY8513 |
| BOOT Button | For download mode and custom function |
| RST Button | Reset |
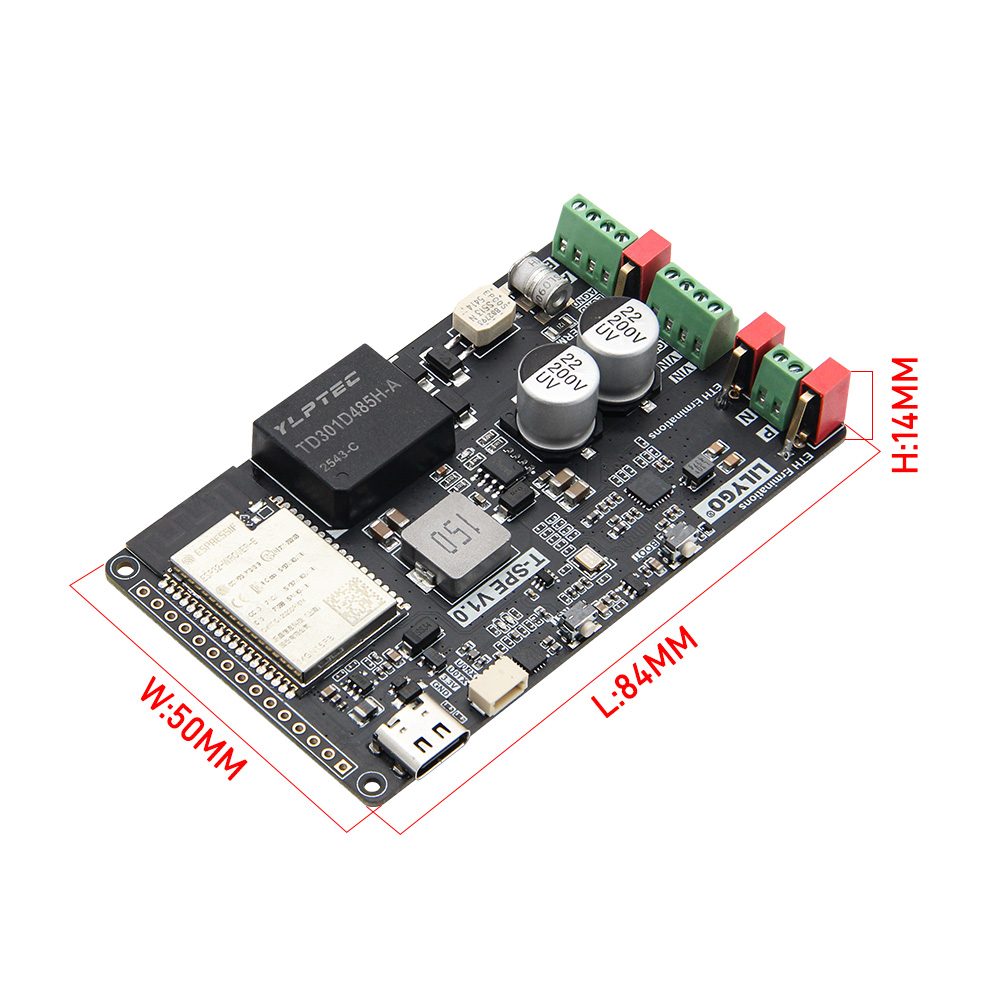
Dimension Diagram
Schematic
Datasheet
Software Development
FAQ
Q: What if I still can't set up the development environment after reading the tutorial?
A: Please refer to the LilyGo-Document for more detailed guidance.
Q: Why does my board keep failing to flash?
A: Press and hold the BOOT button while re-downloading the program to ensure download mode is entered.
Q: Which development frameworks are supported?
A: Official support is currently for ESP-IDF v5.5.3. Arduino or PlatformIO examples are not yet provided; community contributions are welcome.
Version History
| Version | Release Date | Update Description |
|---|---|---|
| T-Spe V1.0 | 2026-03-13 | Initial version |